Small-Space Composting on an Island: A Practical How-To for Limited Materials
On an island, almost everything that goes into the garden arrives by boat: the bags of potting compost, the seed packets, the feed. The compost heap is the one input you can make on the spot, from things that would otherwise be carted away. The difficulty is space. Few of us have room for three open bays and a turning area, and many gardens here are a courtyard, a terrace, or a narrow strip behind the house. None of that rules composting out. It simply asks you to pick a smaller system and run it with a little more care than a gardener with half an acre would.
Choose the bin around your space, not the other way round
Before you save a single banana skin, decide where the bin will sit and how you will get material in and out of it. On a small plot the bin's shape matters more than its volume. Most of the options below will work in a few square metres, but they ask for different amounts of effort.
- Tumbler. A drum on a stand, usually somewhere around 100 to 200 litres, turned by a handle. Good where you have no spare ground and want to keep rodents out. Its weakness is batch size: fill it in one go and it becomes heavy and hard to turn, so add gradually and turn little and often.
- Static cone bin. Cheap, widely available, and it holds a surprising amount. You cannot turn it properly, so it makes compost slowly and is best emptied through the bottom hatch with a fork. Fine for leaf mould and for gardeners who prefer to leave a bin alone for a year.
- Two wooden or mesh bays. The best system if you have a metre of ground against a wall. One bay fills while the other matures. Mesh sides let air in; a wooden lid keeps rain out.
- Worm bin. A stacked tray system or a lidded tub with drainage holes, kept in the coolest, shadiest corner. Worms handle kitchen scraps only, not garden prunings, and they dislike heat and flooding, both of which an island summer can deliver.
- Bokashi bucket. Ferments cooked food, fish bones and all, with a bran inoculant. It needs a second stage: bury the fermented material in a bucket of soil or a trench and let it finish there. Only choose it if you have some ground to bury in.
Two practical rules. First, a bin you can reach in under a minute will be used; one at the far end of the property will be forgotten by June. Second, island wind will try to take your lid. A brick, a strap, or a heavy wooden cover saves you a walk down the road after every gale.
Layering: the part that decides whether it works
Composting is a conversation between two kinds of material. Greens are soft, wet and nitrogen-rich: kitchen scraps, fresh weeds, grass clippings, spent flowers, the tops of plants you have cleared. Browns are dry, woody and carbon-rich: cardboard, newspaper, straw, dried leaves, chopped prunings, egg boxes, paper bags, the woody stems of herbs.
Forget precise ratios. The workable rule for a small bin is that if you are in any doubt, add more browns. Particle size matters as much as proportion: a whole cabbage stem will still be there in a year, while the same stem chopped into short lengths disappears in weeks. Keep a bucket of torn cardboard and a pair of secateurs next to the bin and the job takes seconds.
- Start with a layer of coarse browns across the base, about a hand's depth: twiggy prunings, scrunched cardboard, torn egg boxes. This lets air in from below and stops the first wet additions from turning to sludge.
- Add your kitchen scraps in the middle, not spread to the edges where they will attract flies and dry out.
- Cover them completely with browns. Nothing should be visible from above; that single habit prevents most fly problems.
- Repeat, adding a thin sprinkle of soil or finished compost every so often to bring in the organisms that do the work.
- Every few weeks, mix the top third into the middle with a fork. In a small bin this is a five-minute job and it makes the difference between compost in four months and compost in a year.
Moisture, air and the island climate
The squeeze test tells you nearly everything. Take a fistful from the middle and squeeze. It should feel like a wrung-out sponge: damp, with one or two drops appearing, not a stream running down your wrist and not dust.
Dry is the more common fault here. Wind and sun will pull moisture out of an uncovered bin faster than you expect, and a dry heap simply stalls. When you water the tomatoes in August, give the bin a canful too, then fork the top over. Wet is the other extreme: after autumn rain, or after you have tipped in a bucket of soggy melon trimmings, the heap can compact and go airless, which is what produces the sour, sewage smell. Correct it by mixing in dry browns, leaving the lid off for a day in fine weather, and turning the material to let oxygen back in. A lid, a sheet of old roofing felt, or a piece of plywood weighted down keeps winter rain out without sealing the bin.
Salt spray is worth a thought. Seaweed collected from the tide line carries salt, so rinse it before adding, and use it as a portion of your material rather than the whole of it. Ordinary garden debris that has been rained on and sprayed is not a problem.
Sourcing materials without a car
The trick on a small island is to look at waste as a delivery service. A few reliable local sources:
- Cafés and bars: ask for their coffee grounds. They are a green, come free in quantity, and are easy to layer. Bring your own lidded container and be consistent.
- Shops: flattened cardboard boxes, paper bags, and the paper wrapping from deliveries. Remove tape and staples, avoid glossy printed card.
- Neighbours: hedge clippings, prunings, raked leaves, the contents of spent grow bags and old pots. Say yes to clean material and no to anything diseased.
- The shore: seaweed in modest amounts, rinsed. Take it sparingly and check local rules about removing beach material, since the strandline protects the shore.
- A carpentry workshop: sawdust, but only from untreated wood and only in thin layers, as it mats down and slows airflow.
- Wood ash from a stove, in small amounts, from untreated wood only. Keep it out of a worm bin.
- A barber, for hair, or a household brush, for pet fur. Small amounts, buried in the middle.
What to leave out is just as important: cooked food unless you use bokashi, meat, fish, dairy, oily food, cat and dog waste, weeds in seed, diseased plants, glossy paper, charcoal ash and anything made of treated timber.
When the bin misbehaves
Small bins fail in a handful of predictable ways, and each has an obvious fix. A rotten-egg smell means too wet and too compacted: turn in dry browns and stop adding wet scraps for a fortnight. Vinegary, pickled smells point the same way. Fruit flies mean food is exposed: bury it deeper and cover with cardboard every single time. Ants mean the heap is too dry, so water and turn. Mice and rats usually mean the lid is loose or something tempting was added, so fit a mesh floor, firm the base, and keep cooked food out. A bin that does nothing at all in midwinter is behaving normally; cold slows everything, and there is nothing to fix.
Getting it out, and a routine that holds
Finished compost is dark, crumbly, smells of a woodland floor after rain, and no longer contains recognisable bits of anything. If yours is close but lumpy, push it through a screen or a piece of mesh and throw the lumps back into the next batch. Use it as a mulch around established plants, mixed with garden soil in planting holes, or blended with sand and soil for a homemade potting mix.
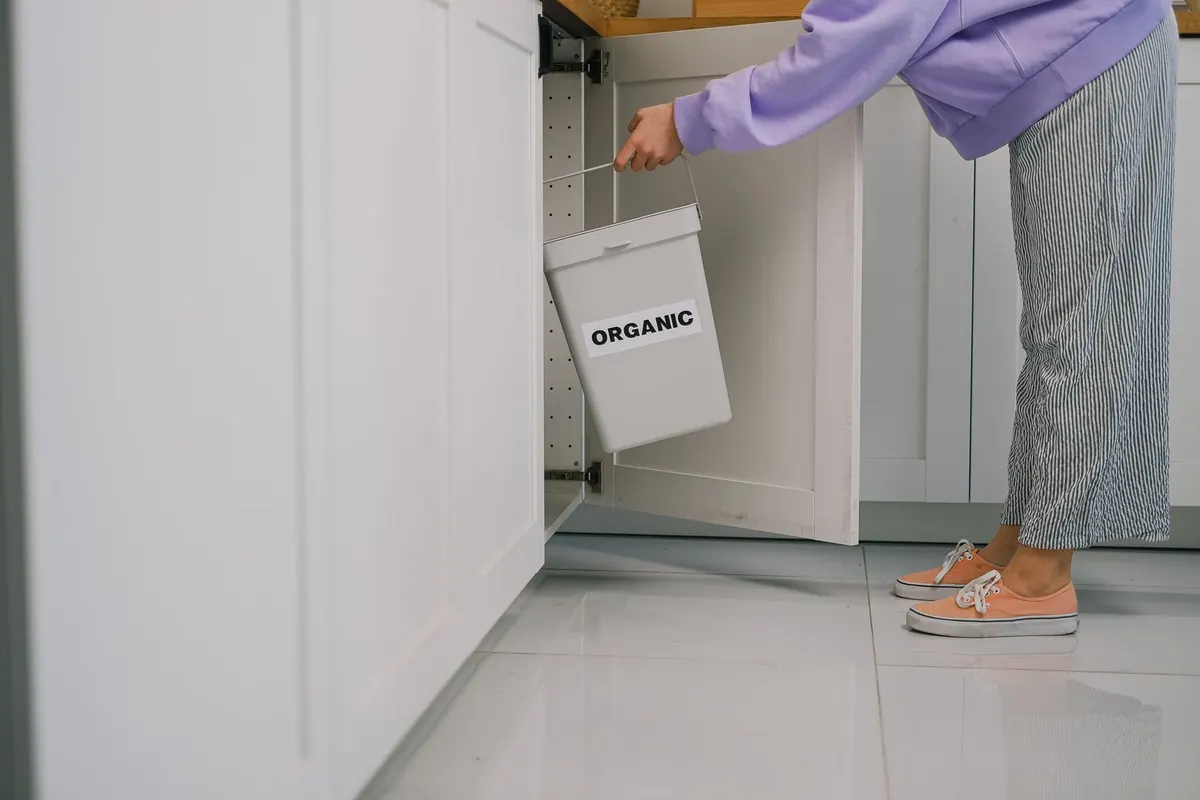
Keep the whole thing simple enough to survive a busy week. A lidded caddy in the kitchen. A bag of torn cardboard beside the bin. A fork stuck in the ground next to it. Turn the heap when you water, and start a second bin, or a second batch, a few months after the first, so you always have one maturing while the other fills. That is the whole system, and it suits an island better than any amount of equipment: closed loop, no delivery, nothing bought except the bin.
Photo: SHVETS production / Pexels